manual new home sewing machine
Manual sewing machines represent a foundational approach to garment construction, offering simplicity and reliability for hobbyists and beginners alike․
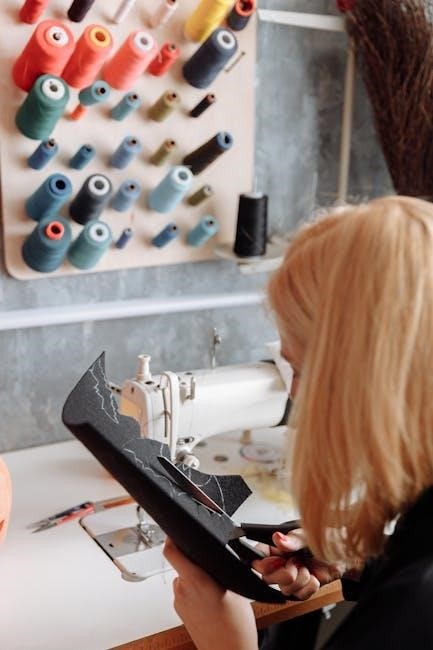
These machines, adjusted entirely by hand, provide direct control over stitch formation and are ideal for basic sewing tasks around the home․
What is a Manual Sewing Machine?

Manual sewing machines, also known as mechanical models, are the most basic type available, distinguished by their complete hand operation․ Unlike computerized or even electric mechanical machines, these rely entirely on the user’s physical power to drive the needle and create stitches․
All settings – tension, stitch length, and stitch type – are managed through a series of dials and levers directly on the machine․ This hands-on approach offers a unique connection to the sewing process, allowing for precise control and a deeper understanding of how stitches are formed․
They are often favored for their durability, simplicity, and lack of reliance on electricity, making them a practical choice for various situations and skill levels․ These machines are the general home sewing machine for hobby sewing․
Why Choose a Manual Machine?
Choosing a manual sewing machine offers several compelling advantages, particularly for beginners or those seeking a simpler sewing experience․ Their mechanical nature fosters a deeper understanding of the sewing process, as you directly control every aspect of stitch formation;
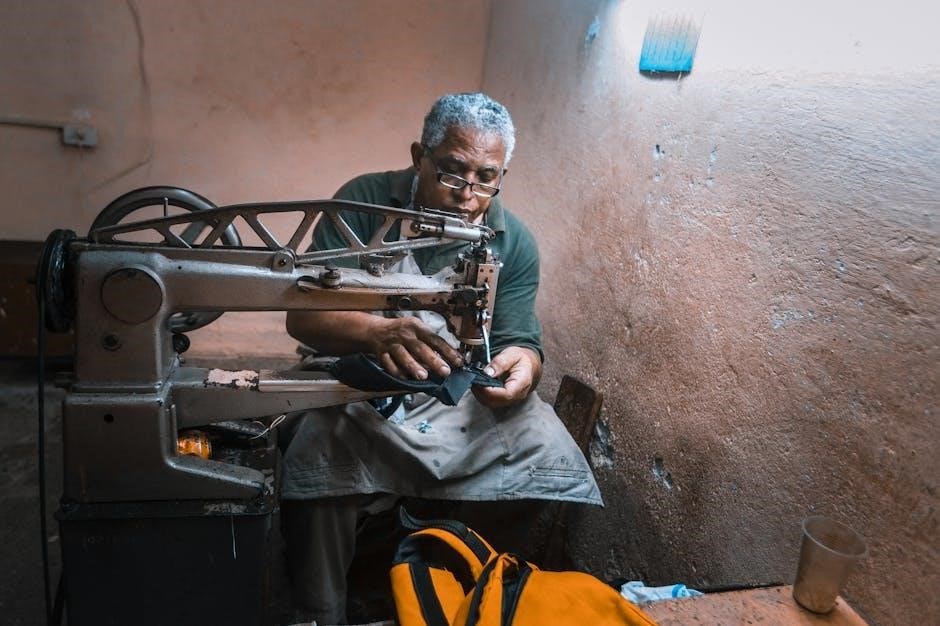
Manual machines are incredibly reliable and don’t require electricity, making them ideal for locations with limited power access or for portable sewing needs․ They are also often more affordable than their electric or computerized counterparts․
Furthermore, their straightforward design minimizes potential malfunctions, and repairs are often simpler to undertake․ Many perfectly good machines are scrapped due to unnecessary repair attempts, highlighting the durability of these models․
Understanding the Parts of Your Machine
Familiarizing yourself with the components of your manual machine – dials, levers, and the hand crank – is crucial for effective operation and maintenance․
Key Components: A Visual Guide
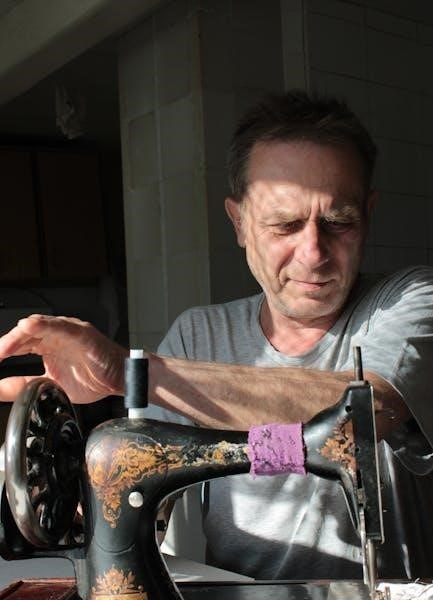
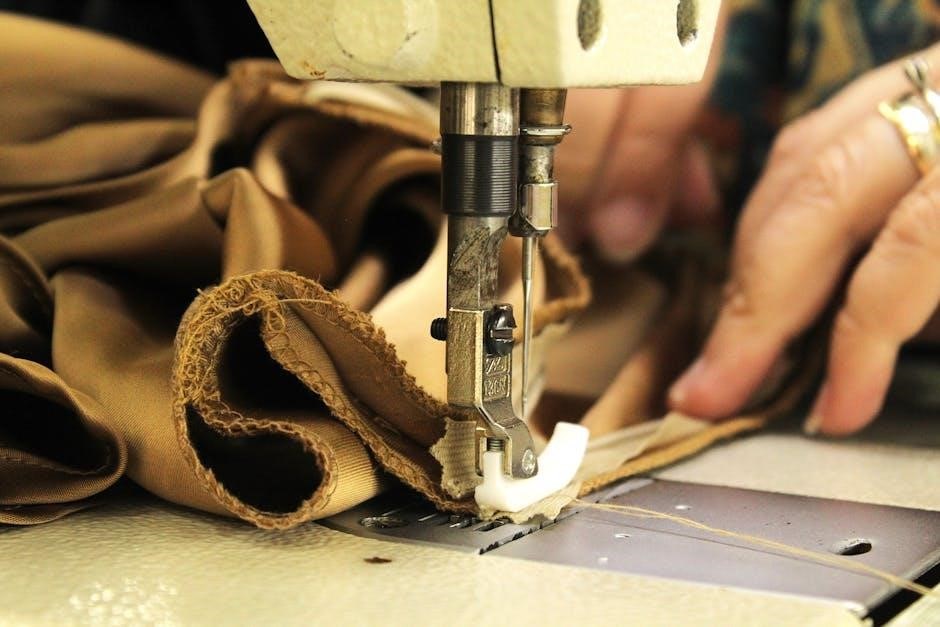
A manual sewing machine, while seemingly simple, comprises several key components working in harmony․ The hand crank is central, providing the power source for stitch formation, directly controlled by the user’s rotation․ Dials and levers govern stitch length, width, and tension – adjustments made manually for desired results․
The spool pin holds the thread spool, guiding it towards the needle․ Beneath the needle plate lies the bobbin case, housing the bobbin which interlocks with the upper thread to create stitches․ The feed dogs, positioned under the presser foot, advance the fabric with each stitch․ The presser foot itself maintains fabric contact, ensuring even feeding․ Finally, the needle, driven by the hand crank, pierces the fabric, completing the stitch cycle․

Spool Placement and Threading
Proper spool placement is crucial for smooth operation․ Securely position the thread spool onto the spool pin, ensuring it rotates freely․ Next, guide the thread through the thread guides – small metal loops designed to maintain tension and direction․ Follow the machine’s threading path, typically involving a series of guides leading towards the tension discs․
The tension discs control the thread’s tightness, impacting stitch quality․ After passing through the tension, thread the take-up lever, which pulls the thread up and down with each stitch․ Finally, thread the needle from front to back (or as specified in your machine’s manual)․ Incorrect threading can cause skipped stitches or tension issues, so careful attention to detail is essential․
Bobbin Winding and Insertion
Winding the bobbin is a key step․ Place the empty bobbin onto the bobbin winder spindle․ Engage the winder by moving the lever or knob, and start the machine by hand-cranking․ Guide the thread from the spool to the bobbin, ensuring even distribution․ Once full, disengage the winder and trim the thread․
Bobbin insertion varies by machine model․ Typically, the bobbin is placed into a bobbin case, then inserted into the machine’s shuttle or rotary hook area․ Ensure the thread unwinds in the correct direction, following the threading path within the bobbin case․ Proper insertion is vital for creating balanced stitches; incorrect placement leads to looping or uneven tension․
Basic Operation: Getting Started
Operating a manual machine requires hand-cranking to power the needle, allowing precise control over sewing speed and stitch placement for various projects․
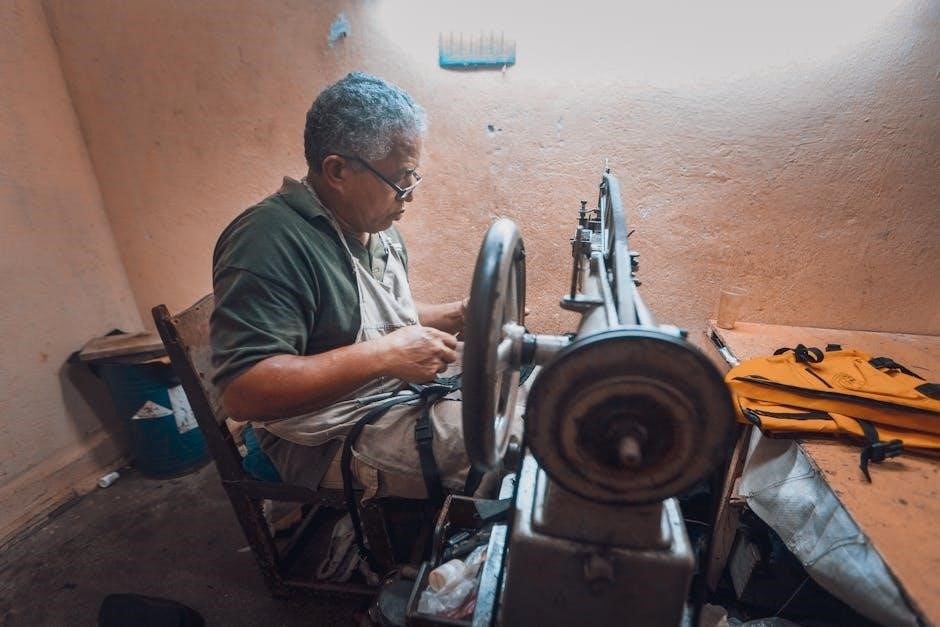
Powering the Machine (Hand Crank)
The hand crank is the heart of a manual sewing machine’s operation, directly driving the needle and internal mechanisms․ To begin, ensure the machine is stable and the fabric is properly positioned․ Grip the crank firmly, typically on the right side of the machine, and begin turning it in a smooth, consistent motion․
The speed of your sewing is entirely dictated by the pace of your cranking․ Slower cranking results in fewer stitches per inch, while faster cranking increases stitch density․ Maintaining a steady rhythm is crucial for even stitch formation․
New users may find it helpful to practice cranking without fabric initially, to get a feel for the machine’s resistance and rhythm․ Remember that the direction of the crank determines whether the needle moves up or down, so pay attention to this during your first attempts․ Consistent, controlled cranking is key to successful manual sewing․
Stitch Selection and Adjustment
Manual sewing machines offer a limited, yet versatile, range of stitch options, typically controlled by dials and levers․ The most common selection involves choosing between a straight stitch and a zigzag stitch․ Locate the stitch selection dial – it’s usually clearly marked with stitch patterns․
Adjusting stitch length is also done manually, often with a separate lever or dial․ Shorter stitch lengths are ideal for delicate fabrics or intricate work, while longer lengths are suitable for heavier materials or quicker seams․ Tension adjustment is critical for balanced stitches; a tension dial controls how tightly the thread is pulled․
Experiment with different settings on scrap fabric to understand how each adjustment affects the stitch quality․ Proper stitch selection and adjustment are fundamental to achieving professional-looking results;
Fabric Selection and Preparation
Choosing the right fabric is crucial when using a manual sewing machine, as these machines have limitations with very thick or stretchy materials․ Lightweight to medium-weight woven fabrics like cotton, linen, and broadcloth are excellent starting points․ Knit fabrics can be used, but require careful tension adjustment and potentially a zigzag stitch for seam stability․
Before sewing, always pre-wash and iron your fabric to prevent shrinkage and ensure accurate cutting․ Inspect the fabric for any flaws or imperfections․ Cut the fabric carefully, following your pattern pieces, and pin them securely together․
Proper fabric preparation minimizes issues during sewing and contributes to a polished final product․
Essential Stitches and Their Uses
Manual machines excel at fundamental stitches like the straight stitch for seams and the zigzag stitch for finishing edges and added versatility․
Straight Stitch: The Foundation
The straight stitch is arguably the most crucial stitch on any sewing machine, especially a manual model․ It forms the basis for constructing nearly all seams in garment making, quilting, and general sewing projects․
On a manual machine, achieving a consistent straight stitch relies on your steady hand and even cranking․ Adjusting the stitch length via dials allows for variations – shorter stitches for delicate fabrics or increased durability, and longer stitches for basting or gathering․
Mastering the straight stitch involves practicing maintaining a consistent seam allowance, the distance between the stitch line and the fabric edge․ Accurate straight stitching is paramount for a professional finish and ensures your projects hold together securely․ It’s the building block for more complex techniques!
Zigzag Stitch: Versatility and Finishing
The zigzag stitch offers remarkable versatility beyond simple seam construction on a manual sewing machine․ Unlike the straight stitch, it moves the needle back and forth, creating a stitch that’s wider than it is long․ This characteristic makes it ideal for finishing raw edges, preventing fabric fraying, and adding decorative elements․
Adjusting the width and length of the zigzag stitch allows for diverse applications․ A narrow, short zigzag is excellent for reinforcing seams, while a wider, longer stitch is suitable for stretch fabrics, allowing the seam to stretch with the material․
Manual machines require careful adjustment of the zigzag settings to achieve the desired effect․ It’s a powerful tool for both functional and aesthetic sewing!
Buttonhole Stitch: A Step-by-Step Guide
Creating buttonholes on a manual sewing machine demands precision and patience․ Typically, this involves utilizing a specialized buttonhole foot and carefully adjusting stitch settings․ Begin by selecting the buttonhole stitch setting on your machine – often indicated by a specific dial position․
First, sew around the perimeter of the desired buttonhole size․ Then, carefully reinforce the ends to prevent unraveling․ Manual machines require you to stop and pivot the fabric at each corner, ensuring a neat, rectangular shape․
Practice on scrap fabric is crucial before tackling your garment․ Achieving a clean, functional buttonhole takes practice, but the result is a professionally finished detail!
Maintenance and Troubleshooting
Regular cleaning and oiling are vital for a manual machine’s longevity․ Addressing common issues like thread jams or tension problems promptly ensures smooth operation․
Cleaning Your Sewing Machine
Consistent cleaning is paramount for maintaining a manual sewing machine’s performance and extending its lifespan․ Begin by disconnecting the power source – in this case, ensuring the hand crank isn’t engaged․ Use a soft brush, like a paintbrush, to remove lint and dust from all accessible areas, including the bobbin case and feed dogs․
Pay close attention to the areas around the needle and the tension discs, as these are prone to lint buildup․ A small vacuum cleaner attachment can also be helpful for removing stubborn debris․ For tougher grime, a slightly dampened cloth (ensure it’s not dripping wet!) can be used, but avoid harsh chemicals or solvents․
Regularly cleaning prevents jams, ensures smooth fabric feeding, and maintains stitch quality․ A clean machine is a happy machine, ready for countless sewing projects!
Oiling and Lubrication
Proper lubrication is crucial for the smooth operation of a manual sewing machine, reducing friction and preventing wear and tear․ Use a sewing machine oil specifically designed for this purpose – never use general-purpose oils! Apply a small drop of oil to the key moving parts, including the bobbin winder, the hand crank mechanism, and any points where metal parts rub against each other․
Refer to your machine’s manual (or a replacement if needed) for specific oiling points․ Avoid over-oiling, as excess oil can attract dust and create a sticky mess․ After oiling, operate the hand crank several times to distribute the oil evenly․
Regular oiling, combined with cleaning, will keep your machine running efficiently for years to come․
Common Problems and Solutions
Thread bunching often indicates incorrect threading or improper tension․ Re-thread the machine carefully, ensuring the thread is seated correctly in all guides and the tension dial is appropriately adjusted․ Skipped stitches can result from a dull or incorrect needle; replace it with the correct type and size for your fabric․
If the machine is difficult to turn, it likely needs cleaning and oiling․ A clogged bobbin case can also cause issues – remove the bobbin and clean it thoroughly․ Many repair attempts are unnecessary, so consult the manual first! Avoid forceful repairs, as they can cause further damage․
Remember, patience and a systematic approach are key to troubleshooting․
Finding Replacement Manuals
Lost your manual? Numerous online resources offer downloadable or physical copies, with options for original manuals or photocopies to restore functionality․
Online Resources for Manuals
Locating a replacement manual online has become increasingly accessible thanks to dedicated websites and online communities․ Many platforms specialize in archiving and distributing sewing machine manuals, often categorized by brand and model number․ A quick internet search using the machine’s make and model – including any serial numbers if available – can yield promising results․
Several websites offer free downloadable PDFs of manuals, while others provide access to scanned copies or allow users to request manuals not currently in their database․ Online forums and sewing enthusiast groups are also valuable resources; members frequently share manuals or provide links to helpful websites․ Remember to verify the manual’s compatibility with your specific machine model before relying on its instructions․
Furthermore, some manufacturers may offer digital versions of their manuals on their official websites, even for older models․
Ordering Original vs․ Photocopy Manuals
When purchasing a replacement manual, you’ll typically encounter two options: original manuals and photocopies․ Original manuals are genuine copies produced by the sewing machine manufacturer, often in excellent condition if sourced carefully․ They represent a higher investment but offer the authenticity and quality of the original documentation;
Photocopy manuals, as the name suggests, are reproductions of original manuals․ They are considerably more affordable but may exhibit signs of wear, such as faded print or imperfections from the copying process․ While photocopies provide the necessary information, their durability and clarity might be compromised․
Consider your budget and desired quality when making your decision․ For collectors or those prioritizing pristine condition, an original manual is preferable․ For practical use, a clear and legible photocopy often suffices․
Advanced Techniques (For New Users)
Mastering seam allowances and fabric handling expands your skills, enabling accurate and professional results with your manual machine on diverse projects․
Seam Allowances and Accuracy
Achieving accurate seams is crucial for garment construction, and understanding seam allowances is the first step․ A seam allowance is the distance between the raw edge of the fabric and the stitching line; common allowances are 1/4 inch, 3/8 inch, and 1/2 inch․
With a manual machine, consistent accuracy relies on your technique․ Use the edge of the presser foot as a guide, maintaining a steady fabric feed․ Marking seam lines with tailor’s chalk or a fabric marker before sewing can significantly improve precision․

Practice sewing straight lines on scrap fabric, focusing on maintaining a uniform distance from the edge․ Regularly check your stitch length and tension, as these factors impact seam appearance and strength․ Consistent practice builds muscle memory, leading to more accurate and professional-looking seams․
Working with Different Fabrics
Manual sewing machines, while versatile, require adjustments when working with diverse fabrics․ Lighter fabrics like cotton and linen are generally easier to manage, requiring standard thread and stitch settings․ However, thicker materials such as denim or canvas demand more effort and potentially stronger thread․
Adjusting stitch length is key; shorter stitches are ideal for delicate fabrics, while longer stitches suit heavier materials․ Tension adjustments are also crucial – looser tension for lighter fabrics, tighter for heavier ones․
Always test on scrap fabric before starting your project․ A slightly larger needle size can help penetrate thicker fabrics․ Slow, steady hand-cranking is essential to maintain control and prevent skipped stitches, ensuring a clean finish on every project․
Related Posts
acs800 user manual
Need help with your ABB ACS800 drive? Find the official user manual, practical tips, common fixes, and everything you need to get up and running – fast!
ktea-3 scoring manual pdf
Need the KTEA-3 scoring manual PDF? Get instant access to the official guide! Simplify assessment scoring & understand results with our resources. Download now!

hayward salt generator manual
Lost your Hayward salt generator manual? Find free PDFs, troubleshooting tips, and expert guides right here! Keep your pool sparkling clean with ease.