eyeshadow guide
Eyeshadow Guide: A Comprehensive Plan (Updated 02/02/2026)
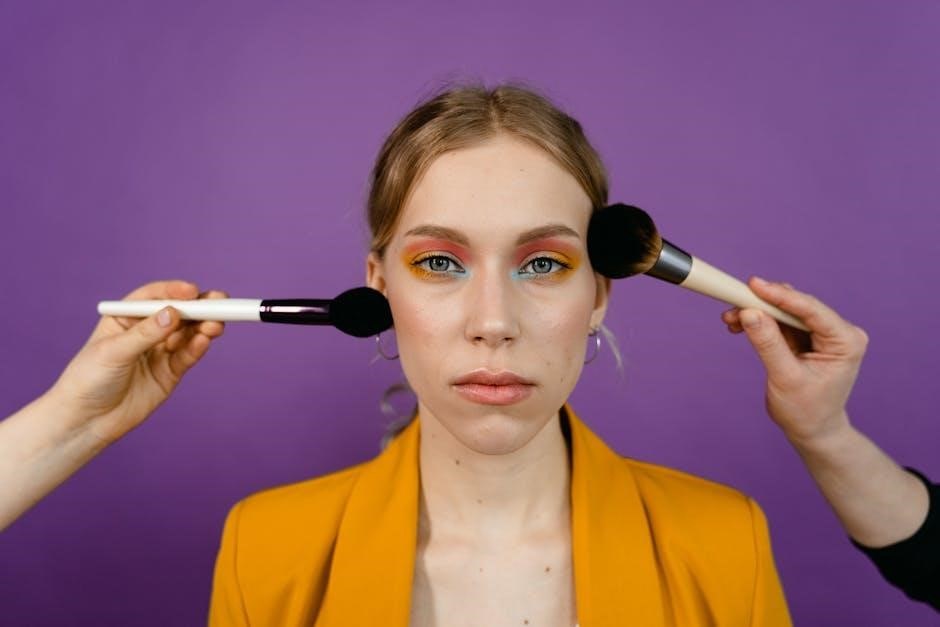
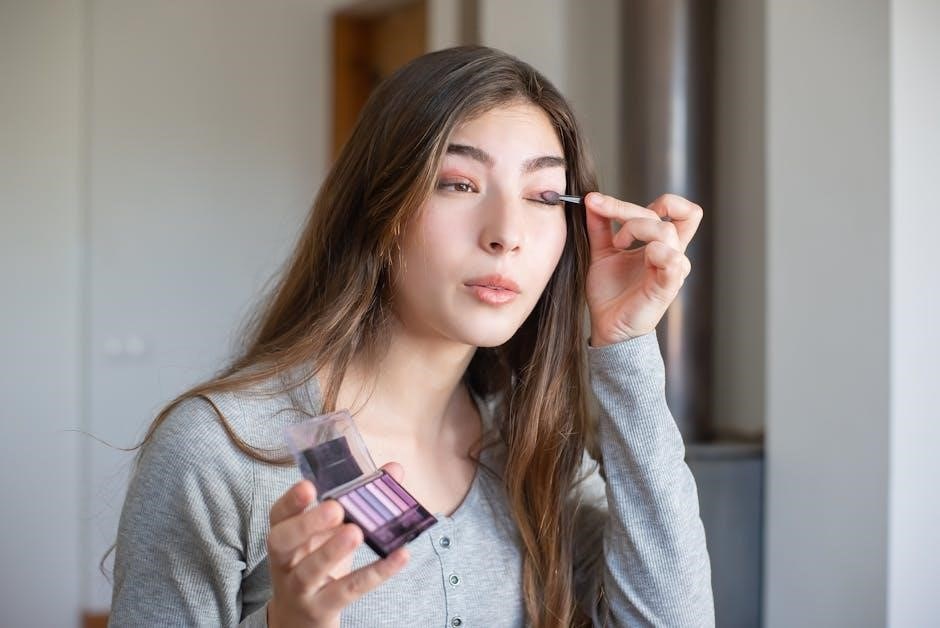
Today, February 2nd, 2026, embark on mastering eyeshadow techniques tailored to your unique eye shape, amplifying natural beauty with professional tips and color choices!
Understanding Eyeshadow Basics
Eyeshadow is a cosmetic applied to the eyelids and under the eyebrows, designed to enhance and define the eyes. It comes in various formulations, from powders and creams to liquids and sticks, each offering a unique texture and application experience. Understanding these basics is crucial for successful makeup application.
The core of eyeshadow application lies in recognizing different finishes – matte, providing a soft, non-reflective look; shimmer, adding a subtle glow; satin, offering a balanced sheen; and glitter, delivering a bold, sparkling effect. Choosing the right finish depends on the desired look and occasion.
Furthermore, mastering eyeshadow requires knowledge of color theory and how shades interact with individual eye colors. Experimentation is key to discovering what complements your features best, allowing you to create stunning and personalized eye looks. A good eyelid primer is also essential for creating a smooth canvas and ensuring long-lasting wear.
What is Eyeshadow?
Eyeshadow, at its core, is a makeup product used to add color, depth, and dimension to the eyelids. It’s more than just a cosmetic; it’s a tool for enhancing your eyes and expressing personal style. Historically, eyeshadow dates back centuries, evolving from simple pigments to the complex formulations available today.
The primary function of eyeshadow is to accentuate the eyes, making them appear larger, brighter, or more defined. It can also correct perceived imperfections, such as hooded lids or close-set eyes, through strategic application and color choices. Different techniques, like smoky eyes or cut creases, utilize eyeshadow to create various effects.
Modern eyeshadow comes in a vast array of colors, textures, and finishes, catering to diverse preferences and skill levels. From everyday natural looks to bold, dramatic statements, eyeshadow remains a fundamental element of makeup artistry, empowering individuals to transform their appearance.
Eyeshadow Formulations: Types & Textures
Eyeshadow formulations vary greatly, impacting application and longevity. Powder eyeshadow is the most common, offering versatility in pigment and finish. Cream eyeshadows provide a smoother, more emollient application, often with higher color payoff, but may crease more easily.
Liquid eyeshadows are known for their intense shimmer and long-wearing formula, drying quickly to a comfortable finish. Mousse eyeshadows offer a blendable texture, ideal for creating soft, diffused looks. Beyond the base, textures range from finely milled to chunky glitter.
The texture influences the application technique; denser formulas require more blending, while lighter textures build easily. Choosing the right formulation depends on your skin type, desired look, and personal preference. Primer is crucial for maximizing wear time and preventing creasing, especially with cream or liquid types.
Eyeshadow Finishes: Matte, Shimmer, Satin, Glitter
Eyeshadow finishes dramatically alter the eye’s appearance. Matte eyeshadows offer a flat, non-reflective surface, excellent for creating depth and definition, particularly in the crease. They serve as ideal base shades and transition colors, minimizing shine.
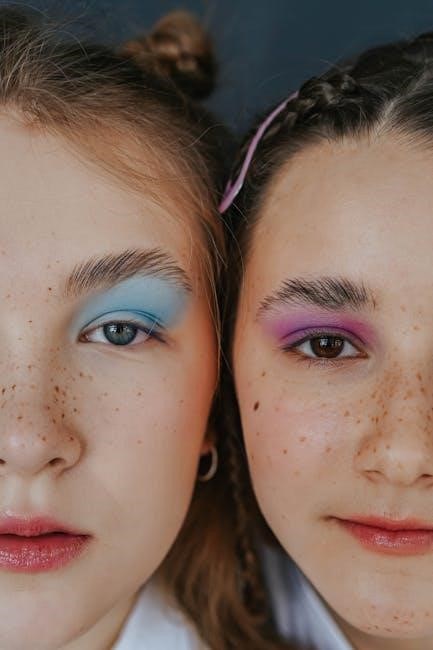
Shimmer eyeshadows contain reflective particles, adding luminosity and highlighting the lid. Satin eyeshadows strike a balance, providing a subtle sheen without being overly glittery, offering a sophisticated glow. Glitter eyeshadows deliver intense sparkle, perfect for dramatic looks and special occasions.
Combining finishes creates dimension; matte shades define, while shimmer or satin brighten. Glitter should be applied strategically for impact. Consider your eye shape – shimmer can enhance protruding eyes, while matte shades can balance hooded lids. Experimenting with different finishes unlocks endless creative possibilities!
Identifying Your Eye Shape
Determining your eye shape – considering size, protrusion, and corner direction – is crucial for selecting flattering eyeshadow techniques and maximizing your natural features!
Almond Eyes: Characteristics & Makeup Tips
Almond eyes are considered the most versatile eye shape, characterized by a balanced proportion and a slightly upturned outer corner. The iris is usually fully visible, and the crease is defined. This shape allows for a wide range of eyeshadow techniques, making experimentation easy and rewarding.
To enhance almond eyes, focus on techniques that accentuate their natural shape. A classic smoky eye works beautifully, as does a soft, blended wash of color. Applying a medium shade across the lid, a darker shade in the crease, and a highlight on the brow bone creates depth and dimension.
Don’t be afraid to experiment with winged eyeliner, as it complements the upturned shape. For a more dramatic look, extend the wing slightly upwards. Generally, almond eyes can pull off almost any eyeshadow color, but warm tones like bronzes and golds particularly enhance their beauty. Remember to blend, blend, blend for a seamless finish!
Hooded Eyes: Characteristics & Makeup Tips
Hooded eyes are defined by a prominent brow bone and skin that covers the eyelid when the eyes are open. This can make eyeshadow application tricky, as much of the color disappears when the eyes are relaxed. The goal is to create the illusion of more visible lid space.
For hooded eyes, a “fake crease” technique is incredibly effective. Apply a medium-toned eyeshadow slightly above your natural crease, blending upwards. This creates the appearance of a deeper set eye. Matte shadows are preferred, as shimmer can accentuate the hooded area.
A smoky eye, smudged upwards, is also flattering, as precision isn’t crucial. Using an eyelid primer is essential to prevent creasing and ensure longevity. Keep lighter shades to the inner corner and brow bone to brighten. Avoid heavy, dark colors all over the lid, as this can make the eyes appear smaller.
Monolid Eyes: Characteristics & Makeup Tips
Monolid eyes, characterized by a lack of a visible crease, offer a unique canvas for eyeshadow artistry. The aim is to create dimension and definition where a natural crease doesn’t exist. Don’t shy away from experimentation – monolid eyes can beautifully showcase a wide range of looks!
Focus on gradually building color intensity towards the outer corner of the eye. A darker shade concentrated there creates depth. Utilize a fluffy brush to blend upwards and outwards, creating a soft, diffused effect. A matte shadow along the lash line can define the eyes without appearing harsh.
For added definition, consider a subtle winged liner or a smudged eyeliner along the upper lash line. Shimmer shades can be applied to the center of the lid to catch the light and create a focal point. The smoky eye technique, smudged and blended, works wonderfully to give definition across the eyelid.
Round Eyes: Characteristics & Makeup Tips
Round eyes are defined by their visible iris and a generally balanced proportion of the white of the eye. The goal with makeup is to add some definition and elongate the eye shape, preventing a perpetually wide-eyed look. Strategic eyeshadow placement is key to achieving this!
Apply a medium-toned shadow across the entire lid as a base. Then, focus a darker shade in the outer corner, extending it slightly upwards and outwards to create a subtle wing. Blending is crucial – harsh lines will accentuate the roundness. A lighter shade under the brow bone will lift the eye.
Avoid applying shimmer or bright colors all over the lid, as this can make the eyes appear even rounder. Instead, use these shades sparingly as highlights. A well-defined lower lash line with a slightly smudged liner can also help elongate the eye shape.
Upturned Eyes: Characteristics & Makeup Tips
Upturned eyes naturally have a lifted, bright appearance, characterized by the outer corner of the eye pointing upwards. This shape is often considered youthful and expressive. Makeup for upturned eyes should enhance this natural lift and openness, avoiding techniques that drag the eye down.
Focus on enhancing the upward tilt by applying a medium-toned eyeshadow across the lid and blending a darker shade into the outer corner, following the natural angle. A subtle wing with eyeliner, mirroring the eye’s upward curve, will further accentuate the lift.
Highlighting the inner corner of the eye with a light, shimmering shade will add brightness and openness. Avoid heavy, dark shadows on the lower lash line, as this can weigh down the eye. Experiment with winged liner and mascara to complete the look!
Downturned Eyes: Characteristics & Makeup Tips
Downturned eyes are identified by a slight droop at the outer corner, giving a softer, more relaxed appearance. The goal with makeup for downturned eyes is to create the illusion of a lift, counteracting the natural droop and making the eyes appear more awake and open. Avoid techniques that emphasize the downward angle.
Apply a medium-toned eyeshadow across the lid, and blend a darker shade upwards and outwards, creating a lifted effect. Focus on extending the eyeshadow slightly beyond the outer corner of the eye. A winged eyeliner, angled upwards, is crucial for lifting the eye.
Brightening the lower lash line with a light, neutral shade can also help to open up the eye. Avoid dark colors on the lower lash line, as they can accentuate the droop. Mascara focused on the outer lashes will further enhance the lifting effect.
Close-Set Eyes: Characteristics & Makeup Tips
Close-set eyes are characterized by a smaller distance between the inner corners of the eyes; The objective with makeup application is to create the illusion of wider spacing, making the eyes appear more balanced and open. Strategic highlighting and shading are key to achieving this effect.
Apply a light, shimmering eyeshadow to the inner corners of the eyes to instantly brighten and create the illusion of width. Use a medium-toned shadow on the inner half of the lid, blending it outwards. Avoid applying dark colors too close to the inner corner.
Focus darker shades on the outer portion of the lid, blending outwards and upwards to create depth. Extend eyeshadow slightly beyond the outer corner. A lighter brow bone highlight also contributes to a more spacious look. Mascara should be applied more heavily to the outer lashes.
Wide-Set Eyes: Characteristics & Makeup Tips
Wide-set eyes are defined by a larger distance between the inner corners. The goal with makeup is to visually bring the eyes closer together, creating a more harmonious balance. This is achieved through strategic shading and color placement, minimizing the space between the eyes.
Apply a slightly darker eyeshadow shade to the inner corners of the eyes, blending it seamlessly into the inner portion of the lid. This helps to visually reduce the distance. Use lighter, brighter shades on the outer half of the lid, drawing attention outwards.
Focus darker shades on the outer corner and blend inwards, but avoid bringing them too close to the inner corner. Extend the eyeshadow along the lower lash line, connecting it to the upper lid. Mascara should be applied more generously to the inner lashes.
Essential Eyeshadow Tools
Mastering eyeshadow requires the right tools: brushes for blending, precision, and application, alongside eyelid primers for longevity, and versatile palettes for color choices!
Eyeshadow Brushes: A Guide to Different Shapes & Sizes
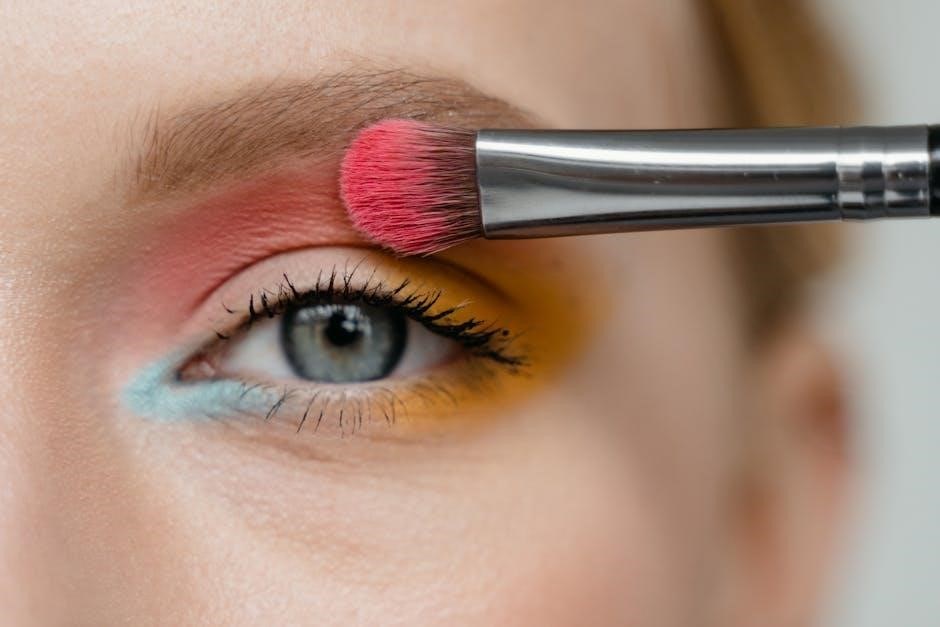
Selecting the correct eyeshadow brushes is paramount for flawless application and blending. Flat eyeshadow brushes excel at packing color onto the lid, providing intense pigment payoff. Fluffy brushes are ideal for diffusing edges and creating soft transitions between shades. A pencil brush offers precision for detailed work, like smudging along the lower lash line or defining the crease.
Angled brushes are fantastic for applying eyeshadow to the brow bone or creating winged effects. Don’t underestimate the importance of brush size; smaller brushes offer control, while larger brushes speed up application on broader areas. Synthetic brushes work well with cream and liquid formulas, while natural hair brushes are excellent for powder shadows. Investing in a variety of shapes and sizes will unlock your eyeshadow artistry, allowing for diverse looks and techniques. Remember to clean your brushes regularly to maintain hygiene and optimal performance!
Blending Brushes: Achieving Seamless Transitions
Blending brushes are the cornerstone of professional-looking eyeshadow application. Their primary function is to soften harsh lines and create a gradient effect, ensuring colors merge seamlessly. Look for brushes with soft, fluffy bristles – these deposit product gently without adding color intensity. Tapered blending brushes are versatile, fitting perfectly into the crease for sculpting and defining the eye shape.
Larger, rounded blending brushes are best for overall softening and diffusing color across the lid. Employ a windshield-wiper motion, gently sweeping back and forth, to blend away any visible edges. Remember, building up color gradually is key; start with a light hand and add more product as needed. Clean blending brushes frequently to prevent muddying colors. Mastering blending transforms a simple eyeshadow look into a sophisticated, polished finish!
Eyelid Primers: Preparing the Canvas
Eyelid primer is an often-overlooked, yet crucial, step in eyeshadow application. Think of it as the foundation for your eye look – it creates a smooth, even base, enhancing color payoff and significantly increasing longevity. Without primer, eyeshadow can crease, fade, or fall out throughout the day, especially on oily eyelids. A good primer grips the eyeshadow pigments, preventing them from settling into fine lines and ensuring vibrant, lasting color.
Choose a primer formulated for your specific eyelid type. Those with oily lids benefit from mattifying primers, while drier lids may prefer hydrating formulas. Apply a thin, even layer across the entire eyelid, from lash line to brow bone. Allow the primer to dry completely before applying eyeshadow. This simple step dramatically improves the overall appearance and wear time of your eye makeup!
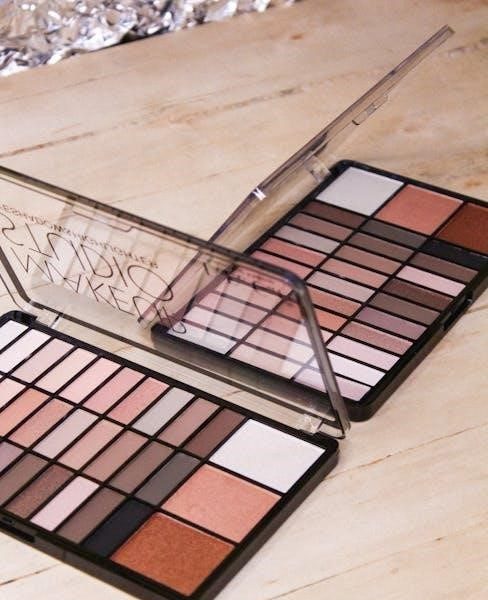
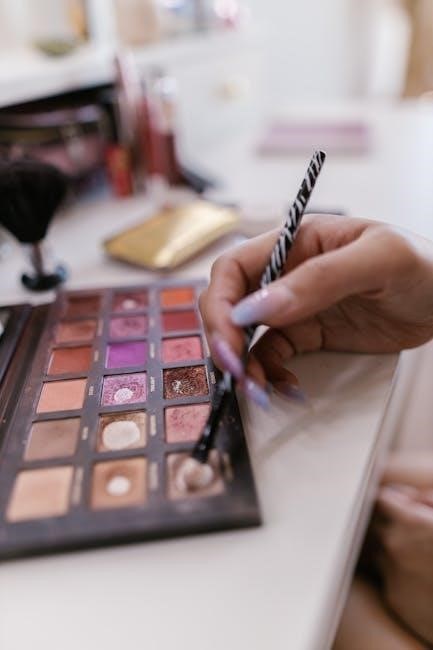
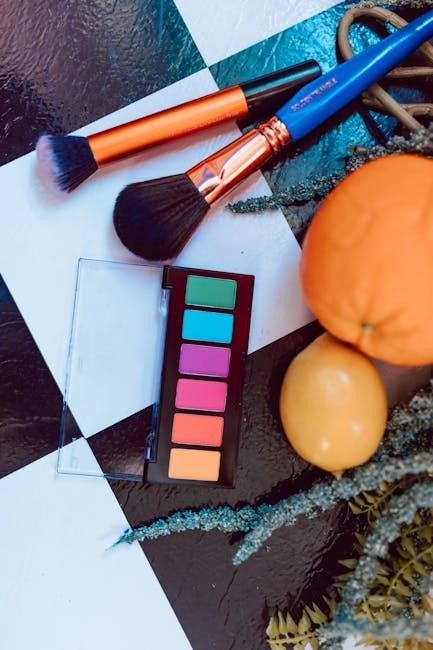
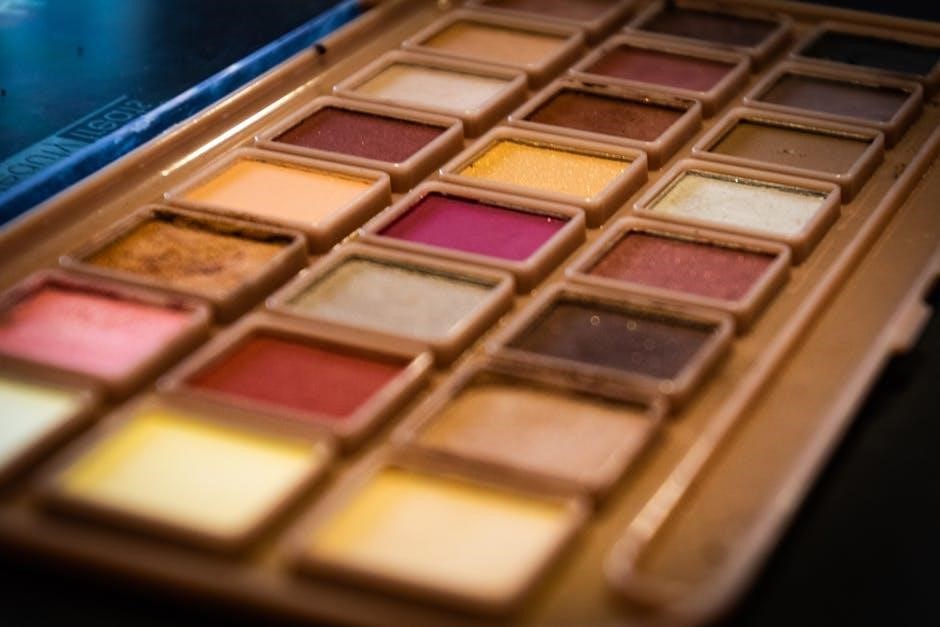
Eyeshadow Palettes: Choosing the Right Colors
Selecting the perfect eyeshadow palette can feel overwhelming, but understanding color theory and your eye color is key. Neutral palettes – featuring browns, beiges, and creams – offer versatility for everyday looks and serve as excellent bases for more dramatic creations. However, don’t shy away from experimenting with bolder shades!
Consider your eye color: warm-toned shadows (golds, bronzes, coppers) enhance brown eyes, while cool tones (purples, blues, grays) complement blue eyes. Green eyes pop with mauve and plum shades. Don’t be afraid to break the rules and explore! Look for palettes with a mix of matte, shimmer, and satin finishes for diverse looks. Start with a smaller palette to build confidence, then expand your collection as you become more comfortable.
Eyeshadow Application Techniques
Mastering eyeshadow involves techniques like the three-color rule, smoky eyes, cut creases, and halo eyes – blending is crucial for seamless, beautifully defined looks!
Basic Eyeshadow Application: The Three-Color Rule

The three-color rule is a foundational eyeshadow technique, perfect for beginners seeking a balanced and harmonious look. This method utilizes a light, medium, and dark shade to create depth and dimension on the eyelid. Begin by applying the lightest shade all over the lid, from lash line to brow bone, as a base and highlight.
Next, apply the medium shade into the crease of the eye, blending well to create a transition color. This shade adds definition and subtly sculpts the eye. Finally, use the darkest shade on the outer corner of the lid and along the lash line to add intensity and drama.
Remember to blend, blend, blend! Seamless transitions between the colors are key to a polished finish. This simple rule provides a versatile base for countless eyeshadow looks, allowing for experimentation with different color combinations and finishes. It’s a quick way to achieve a beautifully blended eye in under ten minutes!
Creating a Natural Eyeshadow Look
A natural eyeshadow look enhances your eyes without appearing overly made-up, perfect for everyday wear. Start with an eyelid primer to create a smooth base and ensure longevity. Choose neutral shades – think soft browns, taupes, and creams – that closely match your skin tone. Apply a light, matte shade across the entire lid, blending upwards towards the brow bone.
Next, use a slightly deeper neutral shade in the crease of your eye, focusing on the outer corner. Blend this shade well to create subtle definition. A touch of the deeper shade along the upper lash line can further enhance the eyes.
Keep the inner corner highlighted with the lightest shade. For a truly natural finish, avoid harsh lines and focus on soft, diffused blending. This technique beautifully accentuates your eyes, creating a polished yet understated appearance.
Smoky Eye Tutorial: Step-by-Step Guide
The smoky eye is a classic for a reason – it’s dramatic and universally flattering! Begin with eyelid primer. Apply a medium-toned eyeshadow all over the lid as a base. Next, use a darker shade (charcoal, brown, or black) in the outer corner, creating a “V” shape. Blend, blend, blend! This is key to a seamless smoky effect.
Smudge the same dark shade along the upper and lower lash lines. Use a pencil brush for precision. Add a lighter shade to the center of the lid to highlight. Blend again to soften any harsh lines. Don’t be afraid to smudge – a smoky eye isn’t about perfection!
Finish with mascara and, optionally, eyeliner; For hooded eyes, keep the darker shades concentrated on the lower lash line. A sexy bronze smoky eye complements almost all eye shapes!
Cut Crease Technique: Definition & Application
The cut crease technique defines the eye by creating a sharp contrast between the lid and the crease. Start with an eyelid primer for longevity. Using a flat brush, apply a transition shade in your crease. Then, with a small, precise brush and a concealer or a lighter eyeshadow, “cut” the crease – creating a defined line above the natural fold.
Blend this line meticulously to avoid harshness. Apply a lighter shade to the lid, staying below the cut crease. This contrast is what makes the technique pop. For monolids, a cut crease can create the illusion of depth and dimension. Experiment with different colors and intensities!
Remember, practice makes perfect; A steady hand and good blending are crucial for a flawless cut crease. It’s a more advanced technique, but the results are striking!
Halo Eye Technique: Highlighting the Center of the Lid
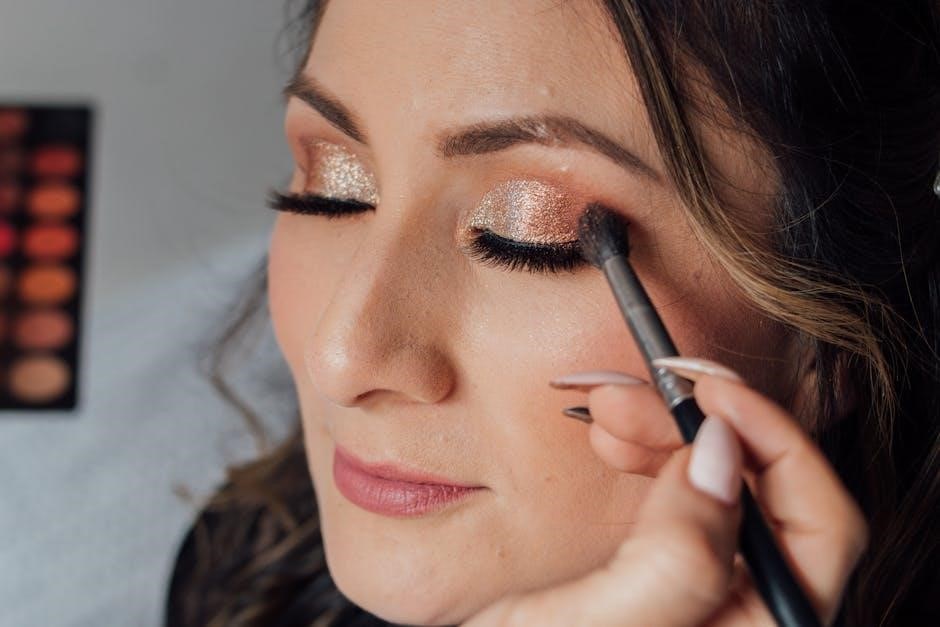
The halo eye technique focuses light in the center of the eyelid, creating a brightening, wide-eyed effect. Begin by applying a medium-toned eyeshadow all over the lid, extending slightly beyond the crease. Next, use a lighter, shimmer shade – often a champagne or gold – and concentrate it on the center of the lid.
Blend outwards, softening the edges so the lighter shade seamlessly transitions into the medium tone. Darken the outer and inner corners with a deeper shade to further emphasize the halo effect. This technique works beautifully on all eye shapes, but is particularly flattering for hooded eyes, bringing forward the lid.
Don’t be afraid to experiment with different shimmer shades! A well-executed halo eye adds instant glamour and dimension.
Color Theory & Eyeshadow
Unlock the power of color! Choose eyeshadow shades complementing your eye color, utilizing neutral tones for versatility and color correction for shape enhancement.
Choosing Eyeshadow Colors Based on Eye Color
Selecting eyeshadows that harmonize with your eye color is crucial for a captivating look. For blue eyes, warm tones like bronzes, peaches, and coppers create stunning contrast, making the blue appear more vibrant. Avoid shades too similar to your eye color, as they can wash you out.
Green eyes are beautifully enhanced by purples, mauves, and reddish-browns. These shades bring out the green’s unique undertones. Gold and champagne highlights can also add a touch of luminosity. Brown eyes, being incredibly versatile, can pull off almost any color! Experiment with blues, greens, purples, and even warm neutrals.
Hazel eyes, with their mix of colors, benefit from shades that emphasize their dominant tone. Purples and greens can enhance the green flecks, while browns and golds bring out the warmth. Don’t be afraid to play with contrasting colors to create depth and dimension. Ultimately, confidence is key – choose colors you love and feel beautiful wearing!
Complementary Colors for Enhanced Eye Appearance
Utilizing complementary colors is a powerful technique to make your eyes truly pop. Colors opposite each other on the color wheel create a striking contrast, intensifying each shade. For example, blue eyes benefit from orange-toned eyeshadows – think warm coppers, terracotta, or peach. This contrast makes the blue appear brighter and more captivating;
Green eyes are beautifully enhanced by reddish-purple shades. Plum, burgundy, or even a touch of rose gold can bring out the green’s vibrancy. Brown eyes, versatile as they are, look stunning with blues and golds. These shades create depth and dimension, highlighting the richness of the brown.
Experimenting with complementary colors isn’t about strict rules, but about creating visual interest. A subtle wash of a complementary shade can be incredibly effective, or you can build intensity for a more dramatic look. Remember to blend well for a seamless and polished finish!
Neutral Eyeshadow Shades: Versatility & Application
Neutral eyeshadows are the cornerstone of any makeup collection, offering incredible versatility for both everyday and dramatic looks. Shades like beige, taupe, brown, and gray provide a subtle enhancement, suitable for all eye colors and skin tones. They’re perfect for creating a base, defining the crease, or adding a soft wash of color.
Application is key with neutrals. A matte taupe in the crease adds depth, while a shimmer champagne on the lid brightens the eyes. For a quick, polished look, apply a single neutral shade all over the lid and blend. Don’t be afraid to layer different neutral tones to build dimension – a lighter shade on the brow bone highlights, while a darker shade along the lash line defines.
Neutrals are also fantastic for blending out bolder colors, creating a seamless transition. They truly are a must-have for any eyeshadow enthusiast!
Using Color to Correct Eye Shape
Eyeshadow isn’t just about enhancing your natural beauty; it’s a powerful tool for visually altering eye shape. Strategic color placement can create the illusion of lift, width, or depth. For downturned eyes, lighter shades in the inner corner and along the brow bone lift the gaze, while darker shades can subtly lift the outer corner.
Hooded eyes benefit from a lighter shade across the entire lid and a darker shade concentrated in the crease, blending upwards to create the illusion of more space. Close-set eyes appear wider with lighter shades in the inner corners and darker shades gradually deepening towards the outer corners. Conversely, wide-set eyes can be balanced with darker shades closer to the inner corners.
Experimentation is key! Understanding how light and dark shades interact will unlock your ability to customize your look and correct perceived imperfections.
Related Posts
valve guide reamers
Find top-quality valve guide reamers for flawless engine work. Improve performance & reliability! Explore our selection & get expert advice. **Valve Guide Reamers** are key!

light bulb color temperature guide
Warm or cool? Discover the ideal light bulb color temperature for *every* room! Our guide makes choosing easy & creates the vibe you want. ✨
circular saw blade teeth guide
Learn how to choose, maintain, and sharpen your circular saw blade teeth with our expert guide. Improve your cutting performance today!